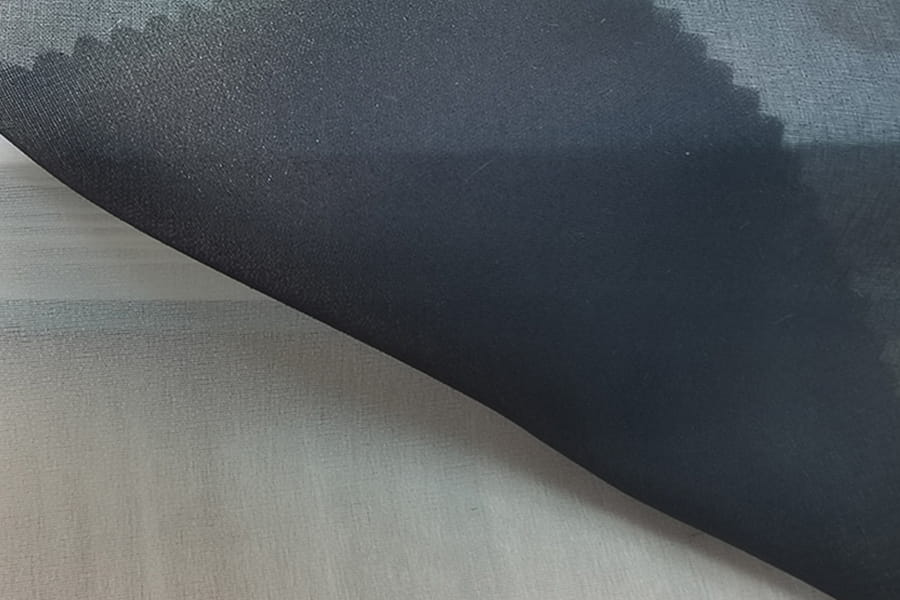
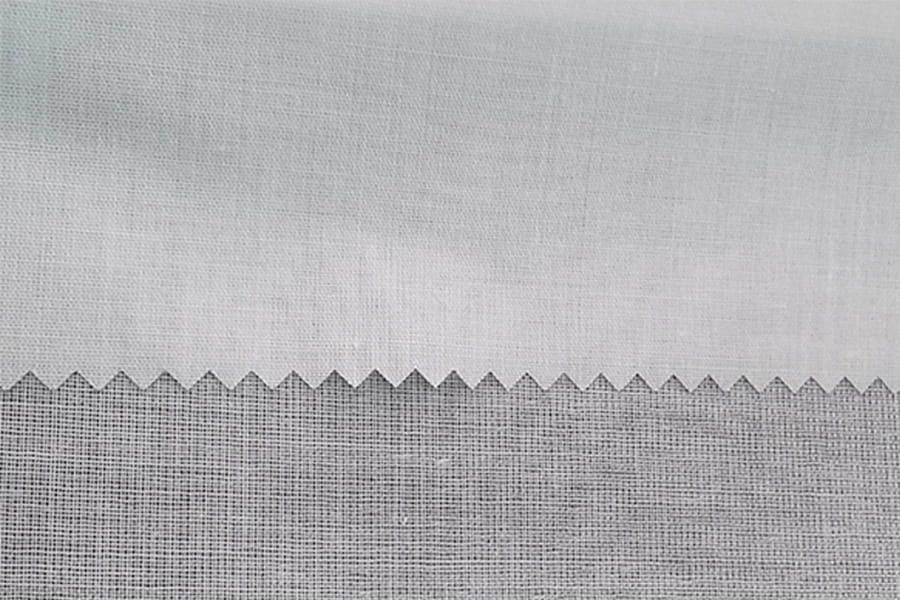
Ensuring that cotton woven fusible interlining adheres properly without damaging the fabric requires a careful approach, as improper application can lead to bonding issues, fabric damage, or even distortion of the fabric's texture.
Test on a Scrap Fabric: Always test the fusible interlining on a small piece of the fabric you are working with, especially if it's delicate or unfamiliar. This will help you understand how the fabric reacts to the adhesive and whether it can withstand the heat and pressure.
Ensure Fabric is Clean and Pressed: Make sure the fabric is clean and free of wrinkles before applying the interlining. Wrinkles can cause uneven bonding. Press the fabric lightly with an iron before starting the application process.
Match the Weight of the Interlining to the Fabric: Choose a fusible interlining that matches the weight and type of fabric you're working with. For example, lightweight fabrics like silk or cotton may require a lighter-weight interlining, while heavier fabrics like wool may need a sturdier, heavier-weight fusible interlining.
Check the Interlining Type: Ensure that the cotton woven fusible interlining is suitable for your fabric type (e.g., cotton, linen, wool). Some fabrics, such as those with stretch or high heat sensitivity, may need special interlinings.
Set the Correct Temperature: Ensure the iron is set to the correct temperature based on the fabric's type. Generally, use a medium to high heat setting for cotton fabrics, but avoid setting it too high to prevent scorching. For delicate fabrics, use a lower heat setting.
Use a Pressing Cloth: Place a thin, clean cloth (pressing cloth) between the iron and the fabric to prevent direct contact with the adhesive side of the interlining. This helps prevent the adhesive from melting onto the iron or fabric and ensures a smooth application.
Preheat the Fabric: Before pressing the interlining, preheat the fabric with the iron for a few seconds to ensure it’s warm. This will make the bonding process more effective.Position the Interlining: Place the fusible side (the adhesive side) of the interlining against the wrong side of the fabric. Ensure that the interlining is aligned properly with no gaps or folds.
Press, Don't Iron: Avoid sliding the iron back and forth as this can distort the fabric. Instead, place the iron on the fabric and press down firmly for about 10-15 seconds (depending on fabric weight) to allow the heat to activate the adhesive. Lift and move the iron to a new area, pressing each section evenly.
Follow Manufacturer Instructions: Always follow the manufacturer's recommended heat settings, pressing time, and fabric guidelines. Overheating or underheating can lead to poor adhesion or damage to the fabric.Avoid Excessive Pressure: While you need firm pressure, too much can cause the fabric to stretch, distort, or lose its shape. Use moderate pressure to allow the adhesive to bond without stressing the fabric fibers.
Allow Cooling Time: After applying the fusible interlining, allow the fabric to cool for a few minutes before handling it. This ensures that the adhesive has set properly.Inspect for Even Bonding: Once the fabric has cooled, check the interlining to ensure it is securely adhered to the fabric. Look for any areas where the bonding may have failed or is uneven. If necessary, reapply heat and pressure to those spots.
No Excessive Heat: Overheating can scorch or burn the fabric, or cause the adhesive to become too sticky, ruining both the fabric and the interlining. Always test with lower heat first on delicate fabrics.
Avoid Ironing on Delicate Fabrics Directly: For fabrics such as silk or delicate wool, always use a pressing cloth and keep the iron moving to avoid direct contact with the fabric, which could lead to heat marks or texture damage.Watch for Shrinkage: Some fabrics, especially cotton, may shrink slightly when pressed. Pre-shrink your fabric before applying the fusible interlining to avoid any unwanted changes in size.

 English
 中文简体
中文简体 русский
 Español


